Power Pages: How to Use Microsoft Power Platform CLI with Power Pages
This is a quick tutorial on how to use the Microsoft Power Platform CLI with Power Pages.
Step 1: Visual Studio Code
Download and Install Visual Studio Code, then install 2 extensions: Power Platform Tools and Power Shell

Step 2: Connect to your environment
After installing the PowerShell extension in your Visual Studio Code, you should see the PowerShell icon on your left side panel. If not, close and then reopen Visual Studio Code.
Use the command pac auth create -u [Dataverse URL] to connect to your environment. A Microsoft ‘Sign into your account’ dialog will pop up, where you can enter your login details. Once you have successfully logged in, you should see a confirmation message as shown below.

Step 3: List Website and download website content
Use pac powerpages list to list all the website

To download the entire portal content to your local folder, use the following command:
pac powerpages download — path [PATH] -id [WebSiteId-GUID]
for example:
pac powerpages download — path “C:\portals\testPortal” — webSiteId d44574f9-acc3–4ccc-8d8d-85cf5b7ad141
Once the entire website content has been successfully downloaded, you should see…

Step 4: Make portal changes
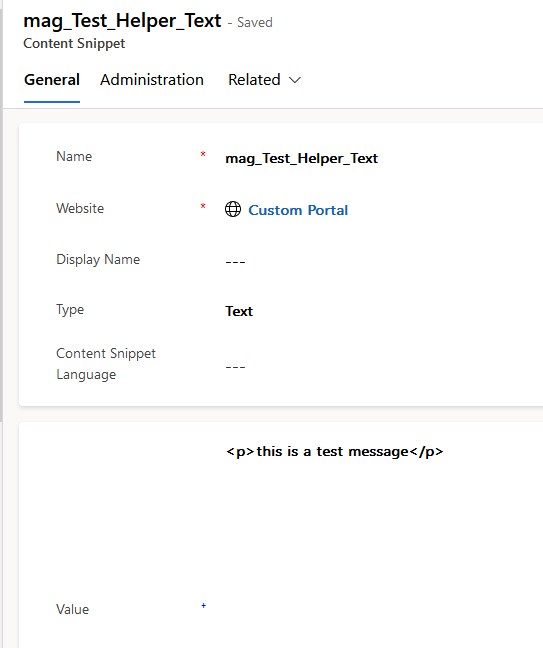
Now you can open the newly downloaded website folder in Visual Studio Code and begin working on your changes. You will see all the portal components in your folder.

Step 5: Deploy portal changes to your target environment.
After making your changes, you can use the following command to upload them to your target environment. If you need to upload to a different environment, simply repeat step 1 and connect to the new environment.
pac powerpages upload — path [Folder-location]
Note that the upload only happens for content that’s been changed.